
If you’re using an Amazon Fire Stick for IPTV, you’ve probably run into the dreaded buffering wheel or random stream blocks. One of the most effective ways to bypass ISP throttling, block invasive ads, and secure your streaming setup is by changing your default DNS.
While there are plenty of options out there, NextDNS is currently one of the best DNS services for IPTV. It gives you enterprise-level ad-blocking and privacy controls without the heavy speed drop you sometimes get from running a VPN.
Since there isn’t an official NextDNS app in the Amazon Appstore, setting it up takes a couple of extra steps. Here is the complete guide on how to install and configure NextDNS on your Fire TV Stick.
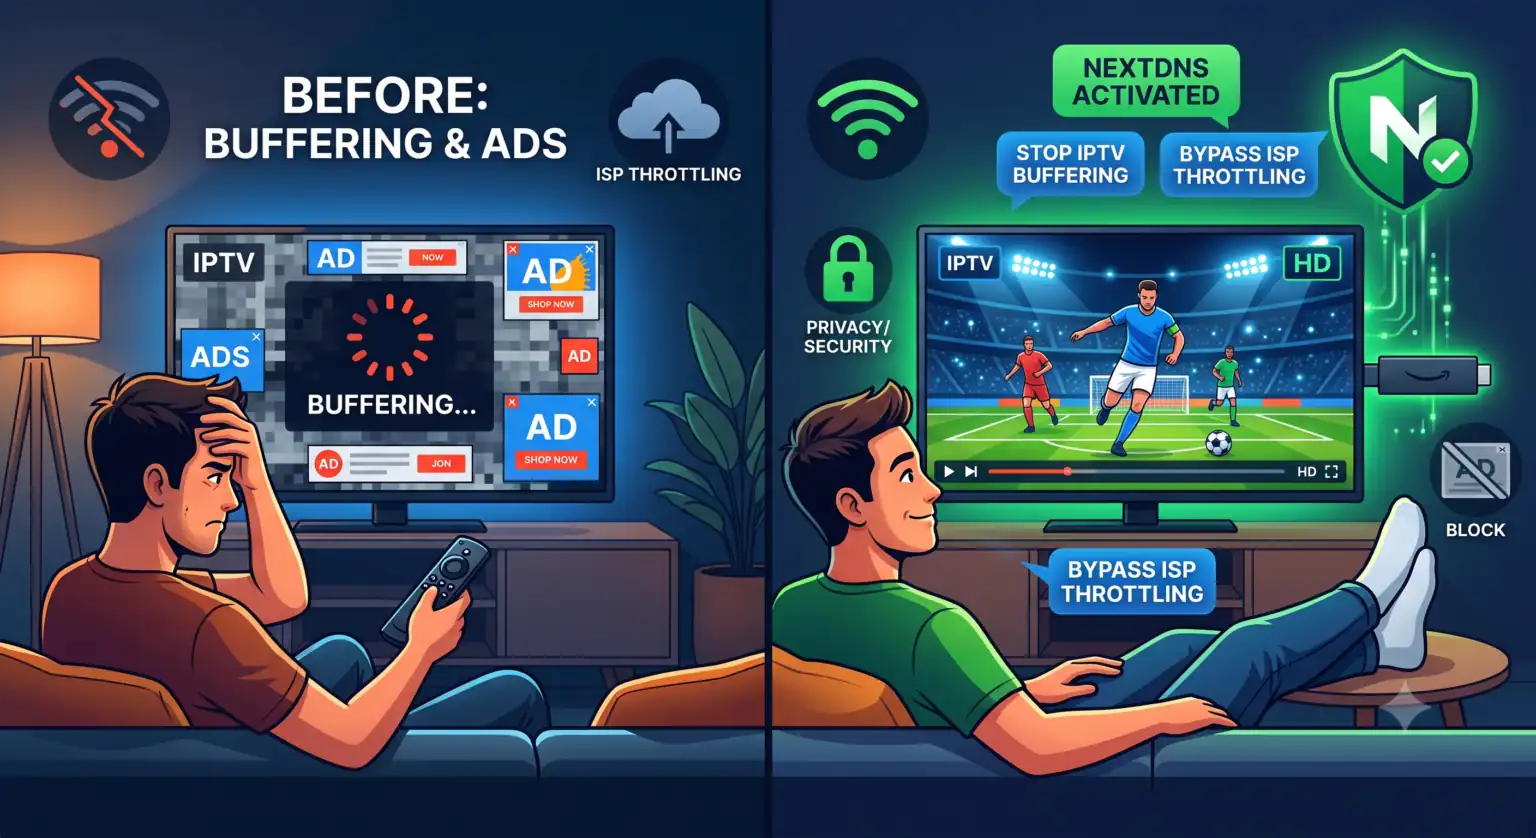
Why Use NextDNS for IPTV on Firestick?
Before diving into the setup, it helps to know why this tweak is so popular. Your Internet Service Provider (ISP) automatically assigns your default DNS. This allows them to track what you stream and, in many cases, throttle your connection when they detect heavy IPTV traffic.
Switching to NextDNS provides three massive benefits for streamers:
ISP-beperking omzeilen: NextDNS routes your domain requests privately, making it much harder for your ISP to throttle your IPTV streams.
System-Wide Ad Blocking: It blocks ads and trackers at the network level, keeping your Firestick interface and third-party streaming apps much cleaner.
Faster Loading Times: A custom DNS can often resolve server locations faster than a crowded local ISP server, meaning snappier menus and less buffering.
Method 1: Change DNS Manually in Firestick Settings (Recommended)
The cleanest way to use NextDNS on a Firestick doesn’t require sideloading any clunky third-party apps. You can manually point your Firestick’s Wi-Fi connection directly to your NextDNS servers.
Step 1: Get Your NextDNS IP Addresses
Ga naar NextDNS.io on your phone or computer and create an account (you can use the free tier without signing up, but an account saves your settings).
On your NextDNS dashboard, look under the Installatie tab.
Scroll down to the Linked IP section and link your current network IP.
Note down the two IPv4 addresses listed under the “DNS Servers” section. You will need these for your Firestick.
Step 2: Note Your Current Network Details
Before changing anything, you need to grab your Firestick’s current network info.
On your Firestick, navigate to Instellingen > Mijn Fire TV > Over > Netwerk.
Write down your IP-adres en Gateway. (Taking a quick photo with your phone is the easiest way to do this).
Step 3: Configure the Firestick Network
Go back to the main Firestick Instellingen and select Netwerk.
Hover over your connected Wi-Fi network and press the Menu button (☰) on your remote to “Forget” the network.
Click on your Wi-Fi network again to reconnect. Enter your Wi-Fi password, but do not hit Connect yet.
Instead, click Geavanceerd.
IP-adres: Enter the exact IP address you wrote down earlier. Hit Next.
Toegangspoort: Enter the Gateway address you wrote down. Hit Next.
Lengte netwerkvoorvoegsel: Enter 24 (this is the standard subnet mask for most home networks). Hit Next.
DNS 1: Enter the primary NextDNS IPv4 address from your dashboard. Hit Next.
DNS 2: Enter the secondary NextDNS IPv4 address.
Raak Maak verbinding met.
Your Firestick is now running your custom NextDNS configuration. To check if it’s working, you can open the Silk Browser on your Firestick and navigate to test.nextdns.io.
Method 2: Set Up NextDNS on Your Router
If you have multiple devices using IPTV or just don’t want to mess with the Firestick’s manual Wi-Fi settings, configuring NextDNS directly on your Wi-Fi router is the ultimate solution.
When you apply NextDNS to your router, every device connected to your home network including your Firestick, smart TV's, and phones automatically gets the benefits of the custom DNS filter.
Log in to your router’s admin panel (usually found by typing 192.168.1.1 or 10.0.0.1 into a web browser on a connected device).
Locate the DNS-instellingen (often found under DHCP, LAN, or Internet setup).
Replace your ISP’s default DNS servers with the NextDNS IPv4 addresses from your dashboard.
Save the settings and reboot your router.
Method 3: Sideloading a DNS App (Advanced)
Some users prefer to sideload an app to manage their DNS, especially if their ISP changes their IP address frequently. You can use the Downloader app on Firestick to sideload a DNS-changing application like Intra or the Android mobile version of NextDNS.
However, be warned: because these are mobile apps designed for touchscreens, they aren’t optimized for the Firestick remote. You will likely need a tool like Mouse Toggle just to click the basic buttons, making the manual Wi-Fi method (Method 1) a much smoother overall experience.
If you want to see a visual walkthrough of the manual network configuration process, watching this Manual DNS Setup for Amazon Fire TV can be a helpful guide to follow along with on your screen.
 Dutch
Dutch  English (United States)
  German
  Danish
  English (UK)
  Norwegian
  Swedish